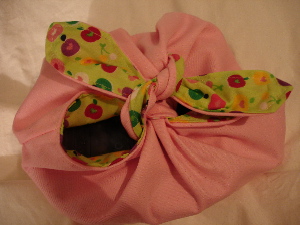
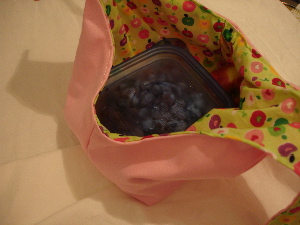
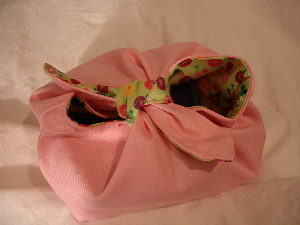
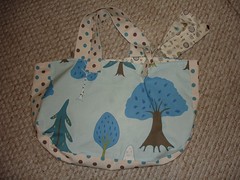
Necessity being the mother of invention, I first made this bag because I wanted something that would have all the features of a plastic bag, except I wouldn’t want to throw it out. The features I really wanted were: ability to hold a square container in an upright position, tie-able, light, washable and squishable. Also cute. And so the Square(ish) Bottomed Hobo Lunchbag was born.
Materials Needed:
- Pattern paper
- Ruler
- 1/2 yard outer fabric
- 1/2 yard lining fabric
- matching thread
Step One:
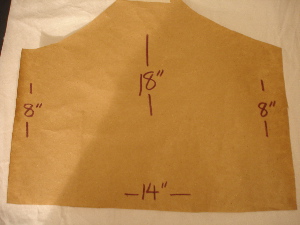
Cut paper pattern, 14” bottom, 8” sides, cut a freehand curve for about 5.5” to the handle, which is 3.5” wide and 4” high.
Step Two:
Select scrumptious, easy to wash, fabrics for your lovely lunch bag.
Step Three:
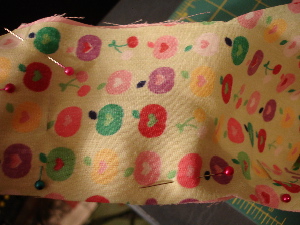
Fold lining fabric in half carefully and pin pattern to both layers.
Cut around pattern. Repeat with outer fabric. You should now have four pieces that resemble little schoolhouses.
Step Four:
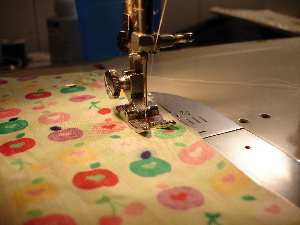
Pin lining pieces together, right sides facing in. Sew down both 8” sides and across the bottom using a 1/2” seam allowance. Leave a gap of 2-3” on the bottom seam. DON’T FORGET the gap, picking this out later is a real pain! Remove pins. Trim thread.
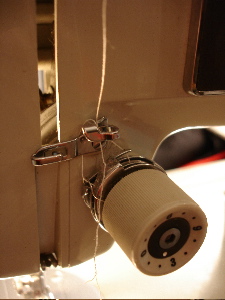
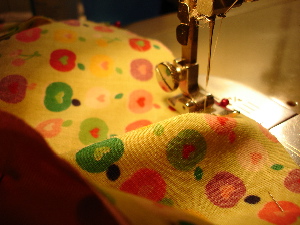
My sewing machine had a delightful little thread implosion meltdown here. No project ever goes smoothly. * Note to self: do not adjust tension while sewing.
Step Five:
Repeat step 4 with outer fabric, sewing across entire bottom.
Step Six:
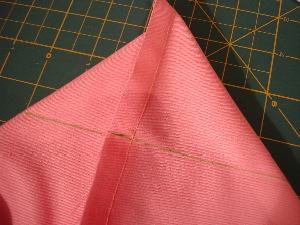
Now we make the squared bottom. (feel free to giggle, I am immature enough to think ‘squared bottom’ is funny too!) Fold the corner into a triangle with a seam running down the middle. Measure the preferred width for your bottom. :o) I chose 6” because that fits the square containers I always use for my lunches.
Mark the width all the way across with a marking pencil, then sew along the line.
Do this for all four corners.
Step Seven:
Trim off the little elf hats to make a straight line across. About 1/2-3/4” is good.
Step Eight:
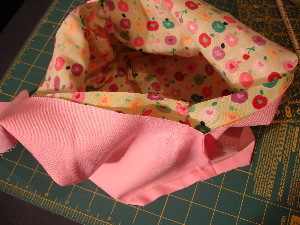
Turn the bag lining inside out and tuck it into the outer bag so that right sides are facing.
Pin together around all the rough edges.
Sew around the whole perimeter of the bag. You can clip the curvy bits if you’d like. (I forgot on this bag-oops!)
Step Nine:
Remove pins and prepare yourself for the best part of bag making! Turn the bag right side out through the hole in the lining. Poke out the handle tips with a pointy object like scissors or a pencil. Sew hole shut by hand or use the lazygal method of topstitching as I do.
Step Ten:
Topstitch around the outside of your lunch bag. (not strictly necessary)
And VOILA! (as we say here in Canada…also I suppose in parts of Europe and Africa. And French Guyana.)
A nifty, easy to wash plastic bag substitute. Lunchtime!
And this is my dog with the tennis ball he chewed up while I was making this tutorial.

